Category Archives: Uncategorizeable

Workshops New and Old, Taken and Taught

My workshops for the summer session at SFCB are live today! Visit my Workshops page for specific offerings. I am dialing it down a bit this summer to open space for Dominic Riley and Michael Burke, who were unfortunately prevented from visiting for their usual summer regime during covid shutdowns and later.

One workshop I am really excited about is an expanded Decorated Edge. It had always felt a little tight to teach sprinkling, graphite edges, stencilling on edges *and* gilded edges in one day, so now I have added suminagashi marbled edges and expanded the class to two days. This way, students can get practice decorating several book edges of each type, and may even have the time to try gauffering, a technique which employs decorative finishing tools to further adorn a gilded or graphite edge.

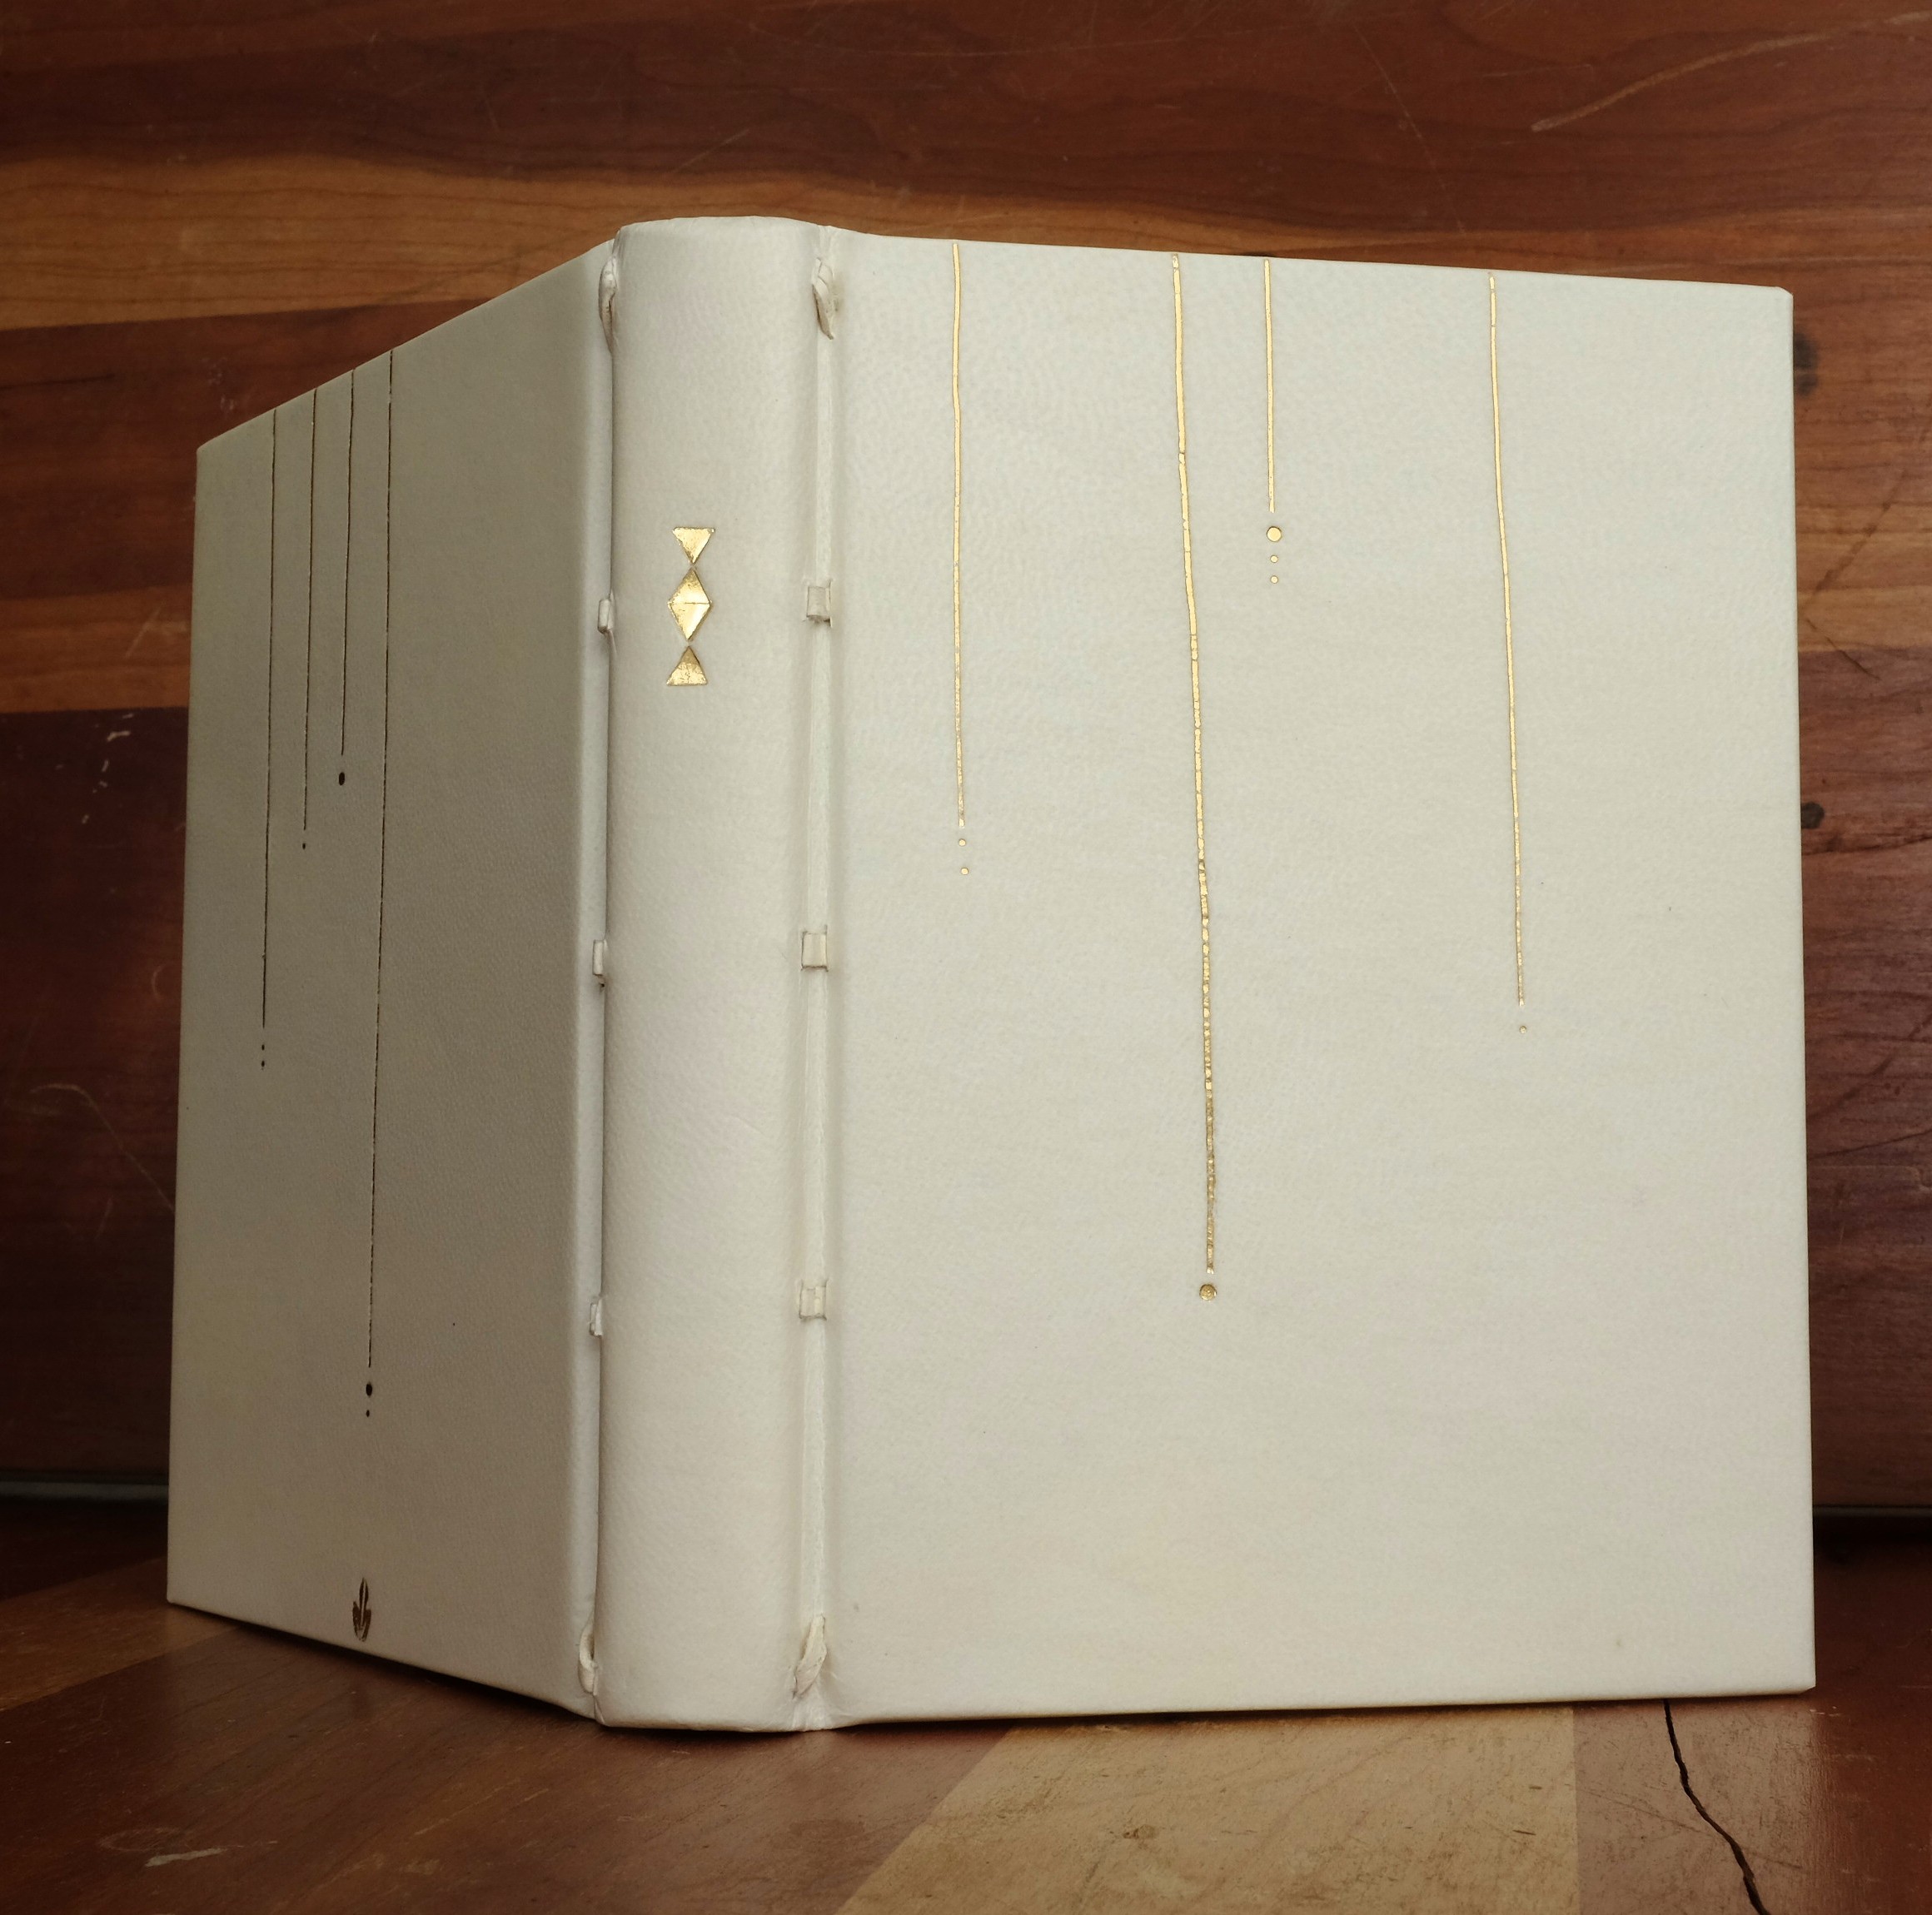
Something exciting to me about this class is being able to teach ploughing. I’m really no bookbinding historian, but ploughing seems to me to be an inherently bookbinderly thing to do. Guillotines will also clean up a book’s edge nicely if you know how to use them. But I think of guillotines as being more properly the domain of the printer’s trade, since they facilitate chopping large stacks of flat paper into manageable amounts for being printed. Ploughs accomodate smaller sizes that represent folded and sewn books. They are also aligned to bring the edge of the book to your attention. Since the edge is horizontal on a plough, the plough allows the binder to look at it as one would a blank piece of paper to draw on. And I do draw on my edges at times! Here is an example of some meandering gibberish scribbling I did for one book. The head edge was drawn out with frisket, then painted over with ink in one stroke. The foredge was treated with a light coat of graphite, then the drawing was done on the foredge with graphite.

This obviously would not be possible with a guillotine. I also like that many historical illustrations of binderies show someone ploughing… and don’t even get me started about ploughing in boards! We do this in my Quarter Leather binding class and it is soooo satisfying. Here’s a video of SFCB’s Exhibitions and Events manager (and bookbinding student and aficionado) Jennie Hinchcliff in the Quarter Leather class, taking a fancy to ploughing.

Ploughing is also ideal for edge gilding because the plough blade burnishes the edge as it passes over it, making the edge smooth and compressed. So, in the Deco Edge class, students will learn how to use the plough.

Last year, I taught a workshop on zoom for the Lone Star chapter of the Guild of Book Workers exclusively on suminagashi edge decoration. It was a hoot! Thanks to all who attended. After that experience, I thought it would be nice to add edge marbling to the Decorated Edge class. I enjoy suminagashi marbling very much, as it enables me to pay closer attention to my intuition. Rather than imposing a regularity to the design as is more common with western marbling styles, suminagashi is truly a picture of a moment. Does this mark me as a flaneur? Well, so be it.


Workshops I’ve taken:  
Sol Rebora’s Can-Can Binding and Michael Burke’s Roman Wax Tablet


Perhaps affirming that cloud-like, adventurous aspect of my personality, I got to take a couple of great workshops last year. One was taught by Sol Rebora, and the other was taught by Michael Burke. Sol’s class was on a binding she calls the Can-Can, because she first developed it when working on a book about a dancer who danced the Can-Can! Ha. I love Sol’s binding styles because they are heavily influenced by her teacher Sun Evrard, a conservator and bookbinder. Evrard has developed many versatile binding styles that can be adapted to purposes relating to conservation on one hand, or fine binding/design binding on the other. I love the light, airy feel of these structures. They are inherently noninvasive, eschewing the use of heavily backed shoulders and instead relying on flexible spine treatments and open joints, and the Can Can binding also shares these qualities. This class was also amazing in that I was able to observe Sol’s working methods, which are of the utmost precision. She uses materials in a slightly different way as well, laminating kozo paper to thin airplane cotton for a strong, flexible spine. She encouraged us to try several different thicknesses of each in order to achieve the perfect weight material for the project being worked on. This is a constant issue for me, especially as the number of paper suppliers in the US and worldwide continually dwindles. The books I am working on are all different, yet the new materials available to use are so limited. When a new material introduced into a repair is not a good match, it is noticeable, and can sometimes wreak havoc for the repair.

Sol’s husband, Juan Grosso, makes tools such as straight edges, rulers, triangles and squares. Sol showed how she uses two different tools together to ensure her work is straight and square. The author may have found herself going home with one or two of these and is finding them most useful.

My workbench, with squares and triangle
Sol demonstrating how she uses two squares to ensure the precision and accuracy of her work

For whatever reason, I thought it was a great idea to shoot this sole record I have of this class on film! I think I was using a slightly experimental set of developing chemicals so please forgive the defects. I’m kind of surprised they came out at all since I rarely shoot film indoors… so there ya go. Anyway, this was a great workshop, and I used the structure to bind my annual ‘braindump’ journal, just for practice. It’s an ideal structure for a journal since the binding is very responsive and friendly in the hand.

Just because I have to be weird, I used thin bookcloth for the endsheets instead of paper! It functions really well in this system because the thin bookcloth has great drape. I love how the colors work with the rest of the elements too. I am practicing color matching for a fine binding I am working on!
My spokeshave was not used for this binding, so I don’t recall why it’s in this photo. I made the decorated paper as gift wrap for my 4 yo niece. The spine material is very old buckram I have around (and perhaps hoard) because I love the natural quality of the fabric and dye.
In this binding style, it is important to be able to pare the edge of the covering paper you are using, so it provides subtle protection in the joint. Here is one of my practice pares!

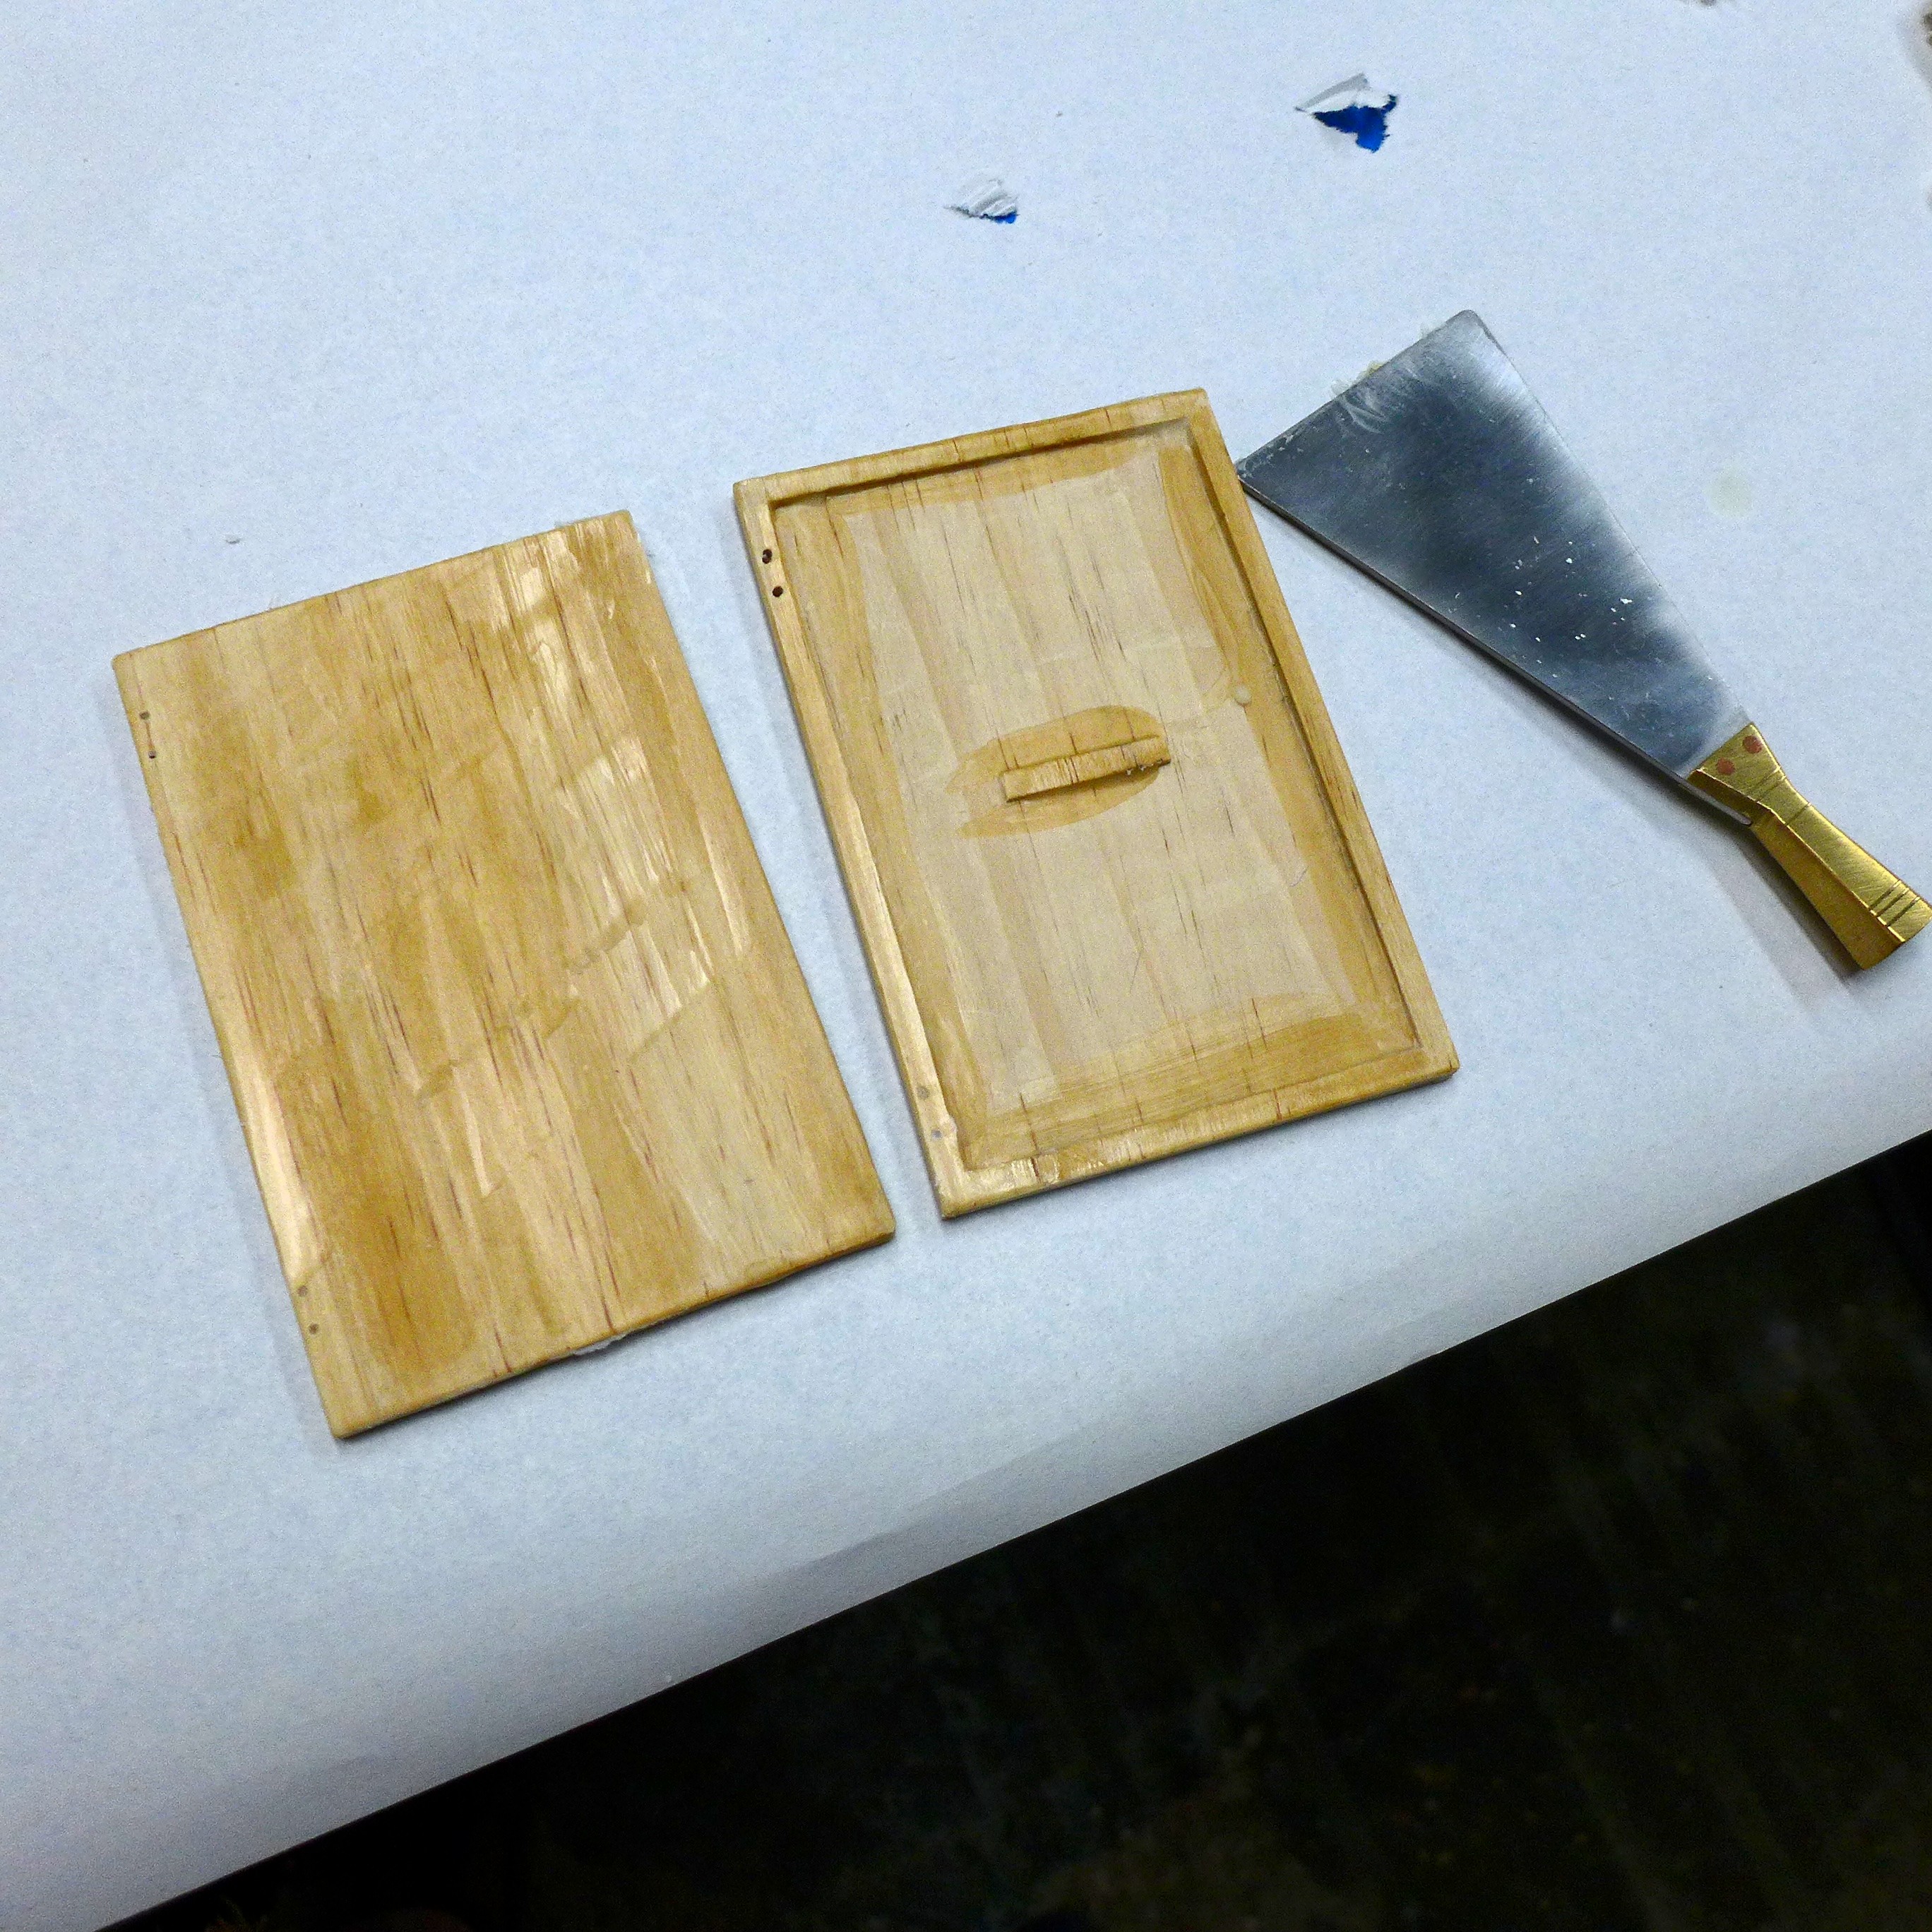
The other class I took last year was with Michael Burke: the Roman Wax tablet. Like Sol’s class, this was a two-day class, and also like Sol, Michael is charming and entertaining, and enjoyable to spend two days with. My primary interest in taking the class was to get more experience doing woodworking in bookbinding projects, since I love making historical models with wooden boards. With Roman Wax Tablets, there is no paper involved–each page is a wooden panel, so it was an ideal way for me to get more comfortable working with wood as a bookbinding medium.

I enjoyed positioning the boards to result in this herringbone pattern
I don’t really have the perfect tool for this, but I was able to figure out how to use the tool I did have in order to approximate. Michael was emphatic on the point that the wood can be ground out using a router, but since that postdates Roman wax tablets by some thousands of years, we should use small hand tools to improve the appearance of each surface. With 5 tablets, this took some time–great for me, more practice! Here I am carving out the well into which we pour our wax later.
It helps to wax all surfaces of the wood prior to filling with the tinted wax, to seal the wood and prevent the dye from seeping out to the edges. Michael knows a craftsman in England who makes interesting revival tools from the appropriate era, based on historical models. This wax spreader took a liking to me and ended up going home with me… hmm I notice a theme with these workshops!
Here the tablets are being filled with wax Michael tinted with bone black from Douglas and Sturgess, a fine art supplier in San Francisco that carries many interesting dry pigments and other products for historically correct painting techniques
Finis… you can see a few areas where my carving tool slipped, and the black wax leaked through slightly. However, I am quite fond of my tablet and am so glad I got to spend this time learning this quirky, ancient book structure!

Okay, well, that is it for today! Sorry for the double elephant folio sized post. See you next time and in the meantime, happy binding!

Leave a comment

Filed under Uncategorizeable

Andragogical Musings

Brr, it’s been cold and rainy around here lately! Don’t get me wrong, California needs rain badly, but it is great weather to stay inside and partake in my favorite hobby–er, occupation–er, craft… well, you know what I mean. And I have devised a way to draw in more of you to participate in this enterprise along with me. Yep, more workshops at the San Francisco Center for the Book!

It has been a pleasant surprise that so many students have been interested in taking bookbinding classes lately. I love teaching bookbinding to people, in fact it is one of the most important things I do. It’s critical to me that bookbinding continues on.

In the next term at the San Francisco Center for the Book, I’ll be teaching the Bookbinding Core classes as usual, and a few special intermediate to advanced classes.

One class I love to teach is Hot Type. It wasn’t until after I graduated from bookbinding school and was out in the world doing photographers’ portfolios that I realized how important titling is. Photographers didn’t give a rip about joint size, tabbed corners, what type of bone folder I was using, or any of the things I was so intentional about. They wanted their names on the front, and their names better look crisp and bold! Since doing a few of those jobs, I upped my game with hot stamping, and would love to share some of my tips with you. I’ve also come to realize that the titling and decoration on leather known as tooling requires the same basic skills as hot stamping with machines. The mechanics of how much pressure to use, what temperature the tool should be, and dwell time in an impression are necessary to learn regardless of whether you’re using handle letters or a Kwikprint.

Another class I’ll be offering next term is Paper and Paste, an intro-level class for anyone interested in book repair. Some conservators argue that book repair shouldn’t be taught to the general public, since people may go too far with it. The way I see the issue is that members of the general public often repair their own books without any training anyway (sometimes covering them with several types of tape!), so why not give people at least some basic knowledge? I often get librarians in my classes whose collections are in deep need for repair, and their organizations have no training for them. This class is based on what an entry level conservation technician would need to know.

Paper repair

The Full Parchment Binding is another class I look forward to teaching again this term. This is a version of a parchment binding with stiff boards. It also has one gilded edge, and French double-core endbands. Ooh la la! We may even do a little foil tooling, time permitting.

Full parchment binding
Full Parchment Binding class portrait
first Full Parchment Binding class portrait

The links to register for any of these classes and more are to be found on my Workshops page.

Some of the classes I teach are strongly rooted in what I learned at North Bennet Street School, though since I have been practicing on my own for so many years, the techniques I teach have acquired a slightly different spin. A topic that has come up occasionally in discussions around teaching bookbinding is who owns a particular teaching material: the place where the class is hosted? The teacher? To me, this is a pointless question. What I teach is as old as the hills. I don’t own it any more than one can own the sky. Though I am sure someone has found a way to do that. But really, that is the great thing about bookbinding. I am just a link in a long chain of bookbinders, and the goal for me right now is to make sure I’m not the last link! That seems to be working out relatively well so far, but I’m not going to take any chances. I am going to keep teaching until every living person knows what a sewing station is, what a square is, and what is the difference between PVA and mix. Why is it so important that people know about bookbinding? Over the years I have been teaching bookbinding to people uninitiated to it, I have discovered that bookbinding serves some very basic human needs. Interacting with the objects in one’s environment, and having some kind of agency over them to create objects that best serve one’s needs are, like the techniques I teach, very old. Preserving one’s thoughts and observations in written form and having some control over the vessel for those observations is likewise very old.

It is a little ironic that the very task involved with preserving printed matter can’t be transmitted fully via printed matter. Bookbinding manuals have their place (many of them on my shelves!) but to fully learn a bookbinding task, it must be transmitted in person. Teaching this material in person involves a lot of give and take between teacher and student. I feel really happy to be involved in this work; it is, in fact, a lot of work on both the part of teacher and student. Any of you who are reading this who have already taken bookbinding classes know what I mean! It’s uniquely rewarding, though. You get more than just a nicely bound book in the end. Any of you reading this who have taken bookbinding classes know this, too.

Leave a comment

Filed under Uncategorizeable

Alaska Dreaming

This past June, I got to visit Fairbanks, Alaska to teach a comprehensive workshop in book conservation. I was invited by the Alaska Literacy Council, who funded most of the costs of the workshop. It was an amazing opportunity for me, and one I did not take for granted. I put a lot of work into preparing for the workshop, and the students worked hard at their projects throughout the class. Several of the students had little to no experience in repairing books, but I was very happy with their results! Most of the pictures I took were outside of class, because we were so busy in class. Click on, or hover over, the photos for the captions.

Many thanks to my exceedingly kind hosts who indulged my every whim, and served me Alaskan salmon every day I was there, and even allowed me to cull some birch bark to take home from their collection of kindling. Where I grew up in Wisconsin, there were many birch, but hardly any where I currently live in California, so I was thrilled to be able to bring home some bark!

This was also one of the rare times when I have given a public lecture on bookbinding. It was part of my duties in teaching the class, and I saw it as an opportunity to set the context for the students in the class (who ALL attended–thank you!), and to educate the general public about book conservation, something I love to do. Surprisingly, I didn’t choke on anxiety during the lecture as I have before, and was able to keep within the time limit as well. Success!

Being a private practice bookbinder involves a lot of very quiet time spent in my studio alone, so I cherish these opportunities to get out and meet people of my ilk. All the Alaskans I met were very down to earth people I could really identify with. I hope the knowledge they have gained in my workshop fuels their ambitions to repair all the books they can for many years to come!


1 Comment

Filed under Uncategorizeable