There comes a time in a bookbinder’s life when a Jacques board shear must be taken into the fold. My friends, that time arrived last April for Book Island. For non bookbinders reading this, I’ll just explain by saying that a bookbinder friend’s reaction was, “You just got a Maserati!” But like most of the equipment I now own, I never wanted it. I rejected several board shears that became available over the years. This one felt like the right one though, and as it slowly dawned on me that it could be mineallmine, I began to wrestle with the problem of how–and where–to move it.
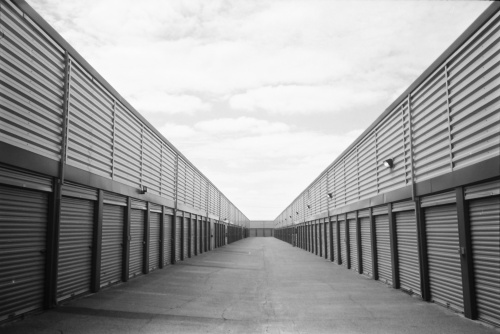
As some of you may know, the land mass of Book Island is not sufficient to provide safe harbor for such a grand frigate as a 40″ Jacques shear. Luckily, the former owners were quite kind, and gave me a month or so to make it disappear from their premises. Oh, the calls went out and the calls came in. Movers, storage unit managers, landlords great and small. As I work out of my living space currently, I contemplated splitting the two and getting a separate studio for Book Island, and also looked at some bigger live/work spaces, some even with freight elevators. However, bay area real estate being what it is, I decided to get a small, affordable storage unit, accessible to BART, that I could visit when needed. I would continue to look for alternatives, but at least a storage unit would allow me to get the shear out of the old bindery where I bought it, freeing up space for them, and it would also allow me to use and visit and sing to it sweetly when I felt the need… Based on my current projects, I figured I would be going there about once a month to cut a batch of board, which seemed reasonable.
extraspace
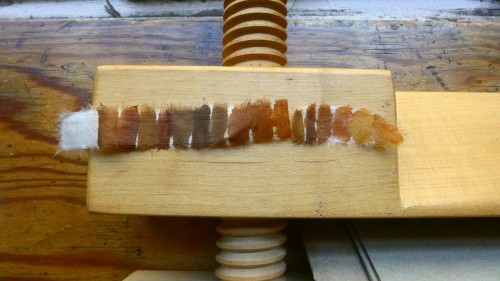
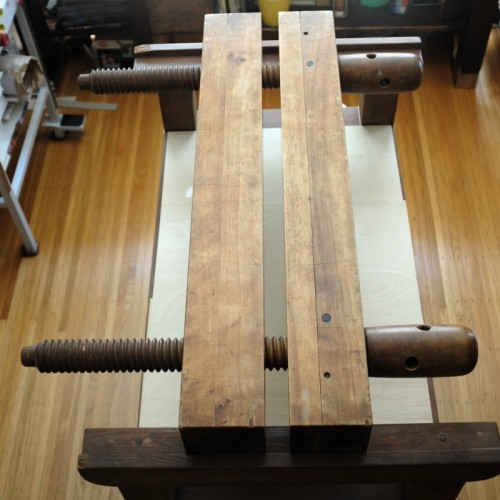
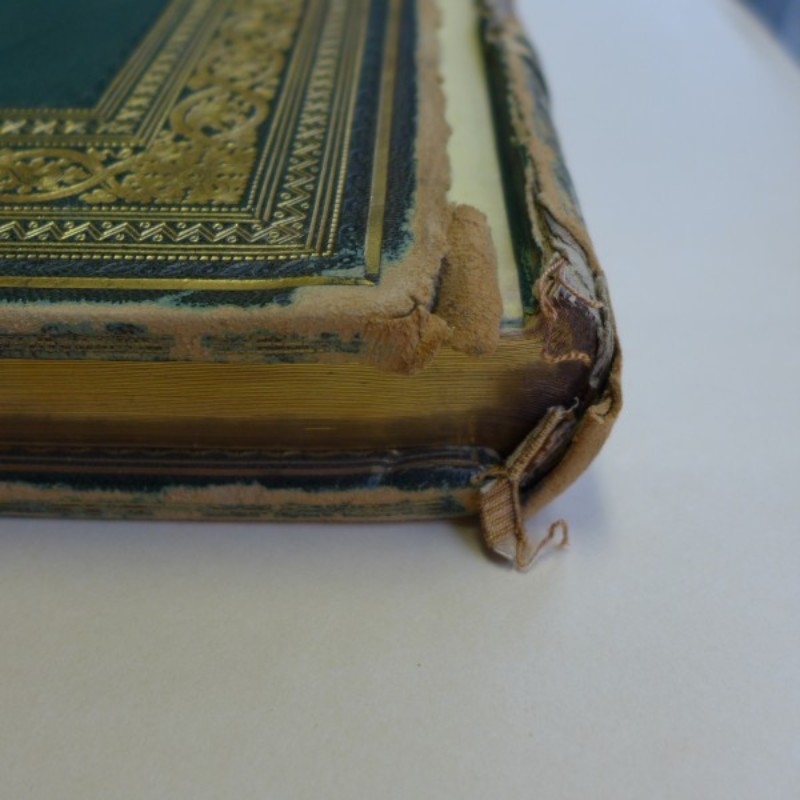
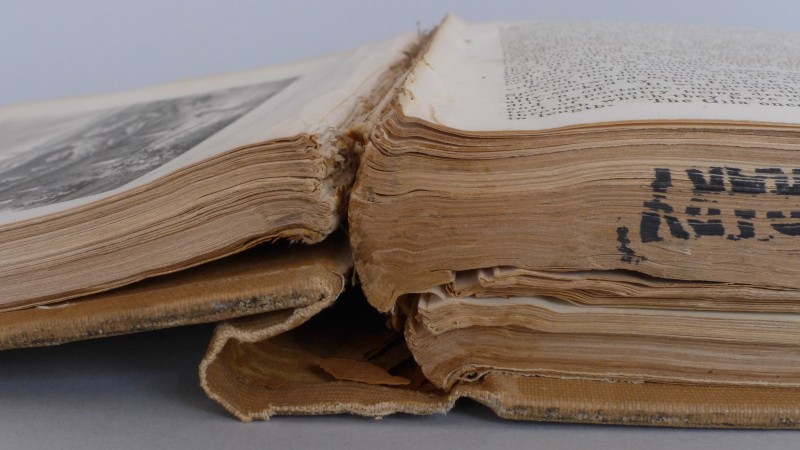
Moving on to moving the shear… well in fact I did not just get the shear; to complicate matters I decided to add on a cast iron job backer. Why? Well, I had just attempted to round and back a personal project in my wooden press/plough with backing boards, and it was not optimal. Not every project requires a sharp shoulder, but when you want it to be sharp, it should be pointy sharp! I know that lots of bookbinders these days are moving away from using heavy backing presses in their spine shaping. I definitely appreciate the down side–it is quite invasive, as we say in conservation. You can disbind a book completely, put all the folios through several baths of water and size, dry under heavy pressure, and go to resew and reshape the spine, and the book will spring right back into the shape of the original shoulders. Crease retention is real! However there are important reasons why shoulders are essential to the shape of a book. They create space for the thickness of the cover boards. They allow space for the rounding of the spine which is needed due to the swell of the thread and the folded paper. Rounding and backing happen to be two of my favorite tasks in bookbinding, among all my favorite tasks in bookbinding, and the result is much better with the right equipment.
So, board shear and job backer would be mine, if only I could get them off the bindery floor and onto some kind of truck. But what kind? Having no experience whatsoever in moving equipment, I thought I would just have to hire someone. Joel Martinelli, owner of Herring & Robinson Bindery where I bought the stuff, said that he and his brother would put the shear and job backer on pallets for me, which was a huge help. Later on, I would see how they did this… more on that later! I called around to local printer friends and got some quotes from companies they had used. But the whole idea of using a lift gate for a board shear had me puzzled. Board shears are really wide, and take up a lot of low space compared with printing presses, which are more compact and upright. Lift gates are only about half as wide as a board shear, so it seemed like there was a high probability that the shear would tip backwards off the lift gate! I discussed this with Chad Johnson, studio director at the San Francisco Center for the Book where I teach. We came to the conclusion that a much better option would be a trailer. I looked on the Uhaul website, and trailers with ramps were available! Next I had to figure out how to get the shear onto the trailer. I found a local company that rented pallet jacks. But even on wheels, I’m not strong enough to pull a board shear up a ramp. I called Joel again for advice. He listened to my situation, and gave a thoughtful pause, as only a bookbinder can do. Then he said, “There’s this thing called a come-along…” As he was talking, I looked it up on the internet. Almost before he finished describing it, I had found a picture of one. Then I found one available for sale nearby for only about $30. This was an absolutely genius suggestion; otherwise, I’m not sure it would have been even possible for me to move this stuff mostly on my own… mostly!
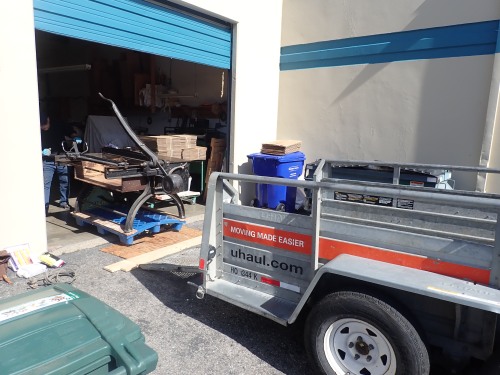
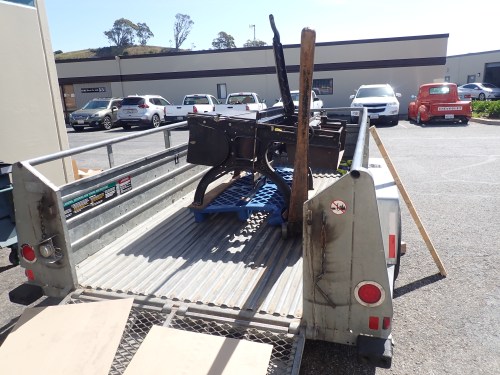
On moving day, I arrived with my Uhaul pickup truck and trailer. Joel and his brother Jim had put the shear and job backer on pallets, and had agreed to help me get them on the trailer. I had arranged with a bookbinder friend to meet me at my storage unit for the unloading. On the loading end, we started moving the equipment around to get it onto the truck.
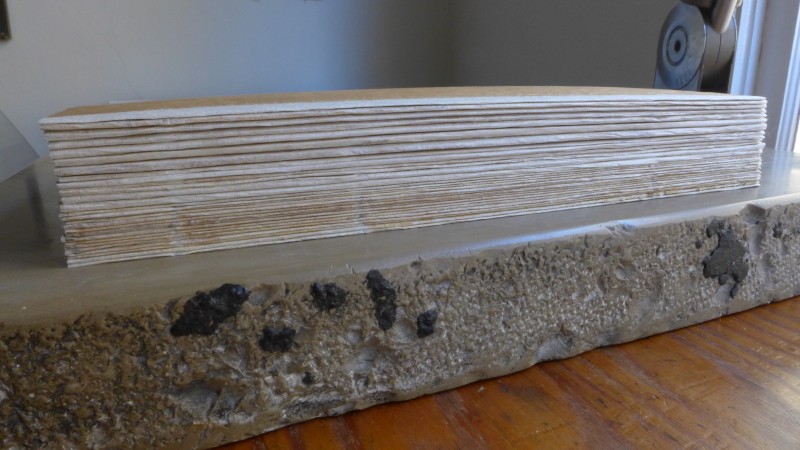
Using wooden press boards to smooth out the ramp
However, there was a problem. Jim had put the board shear on a plastic pallet, and the pallet was wrapping around the pallet jack’s fork! oooo now what?!
oopsie
Well at this point it was time for some more thoughtful reflection. For me it was a slight moment of, “How is it that I became a bookbinder?” For Joel and Jim, it was more of a snapping into action to fix the problem, and what they did was amazing. From one of their neighbors, they found a wooden pallet, and a large piece of MDF board, cut it to size, lifted the board shear up on two car jacks, and slid the old pallet out and the new one underneath.
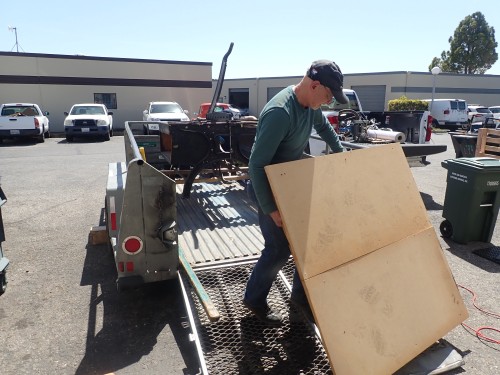
Shear is jacked up, new pallet with strong board cut to size and going under

Sliding in the new pallet
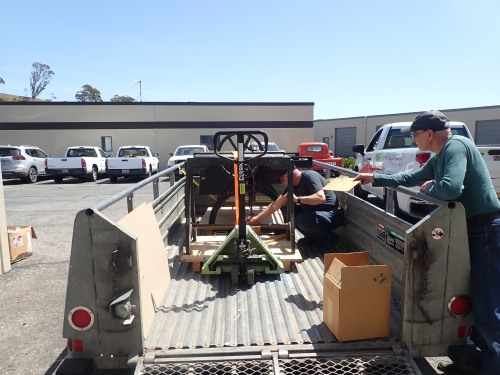
finally bound together

bricks serve as spacers so nothing can slide forward or backward during the trip
Everything tied down, I waved a grateful and fond goodbye to the Martinelli brothers, and drove rather cautiously from South San Francisco over the San Mateo Bridge to Hayward, where my storage unit, and my close friend Laine, were waiting for me. Only the most special of friends receives a call from someone asking them to help move a board shear, and doesn’t hang up!
We were able to get both items off the trailer, though with a nonzero amount of trouble. We tried to use the come-along (also known as a hand winch) in reverse to slowly slide the b.s. down the ramp, but we couldn’t get the winch to work in reverse. We even watched a youtube video demonstrating it, and I had practiced it the night before. Maybe I should have bought a nicer one? I don’t know. Problem for another day. We ended up hooking the tow rope to the pallet jack, and letting it fly down the ramp. Which worked! Nothing crashed; it actually slowed down to a stop right where the tow rope would have stopped it.
Getting the b.s. into the storage unit gave us quite a lot of trouble. There is a 1″ lip on the entrance, and despite using wooden pressboards to even this out, it just kept getting caught on the edge. I ended up having to look around the area and ask a total stranger for help. Luckily, there was a house painter loading his tools into his space, and he came by to help us figure it out, with the help of another complete bystander. They helped us balance the weight as it went across the lip, and we got it in. I guess it really takes a village to move some b.s.!
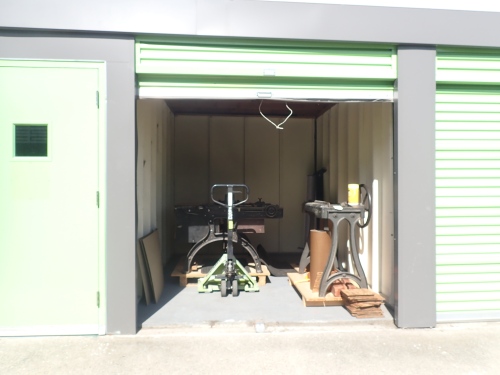
The effing lip on the effing unit omg… we used not only the wooden press boards, stacked at right, but also sheets of sage board (an old and very inferior type of binder’s board) to smooth out the edge.
This was a formative experience for me, to say the least. I learned so much that day! After explaining everything that happened to my friend and fellow instructor Alan Hillesheim, he said he wanted to teach a class at the Center on equipment moving and use my story as a case study! Hm, I’m not sure if that’s a good thing or a bad thing… but I’m pretty relieved nothing was broken!
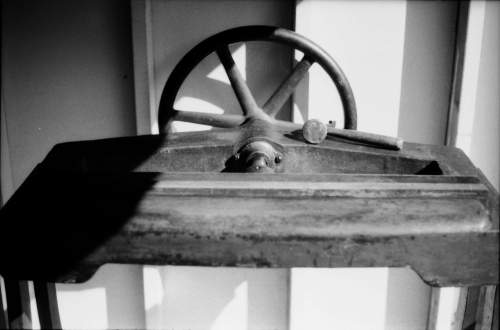
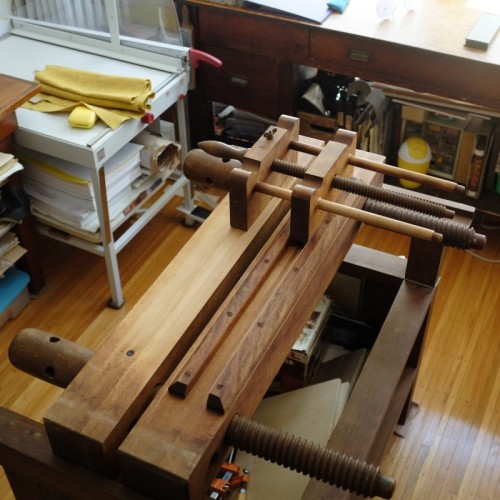
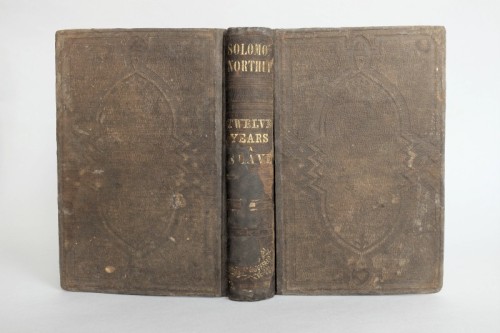
Herring and Robinson was a 100+ year-old bindery, sometimes I wonder if they were the original owner of this shear! It has a metal top, and both the original spring gauge and back stop, and a nice wooden catch basin. It has never been repainted, so all the flourishes and whatnot are original too. Not only that but they built a storage cabinet for sheets of board under the top on the left hand side. It cuts very well and is perfectly adjusted, just as heaven and nature intended.

For more about Jacques board shears and for image attribution, click on the photo above
I had known Herring and Robinson since I first moved out to the bay area as a production bindery that did good, honest, affordable work. This is why I felt so good about buying equipment from them. I knew it would have been used and cared for properly. It’s a shame they had to close, but I’m glad they were able to stay in operation as long as they did.
Part of caring for equipment is making sure it gets used properly, and I look forward to many years of that! I got to cut some board on it right away for a few projects, and I was even able to do some work on the job backer for a professional project. As much as I didn’t want any of this stuff in my life, not to mention the trouble of moving it and storing it, I’m pretty fond of it now.
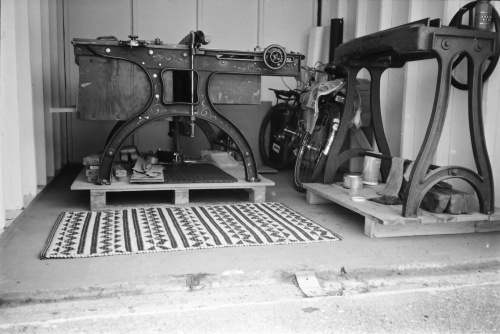
Found a classy rug… I think it really brings the room together