Books Are Round; and, My PSA on PSA

Many of the materials that go into the making of a book are flat: paper, board, bookcloth. Of course, all of these things, including the finished book, are at least three dimensional. But have you ever heard of a book being round? A-round, sure… for some of us more than others. But really, truly, round? In my work repairing old books, I have seen many a round book, meaning the book is no longer a book per se–it has become a receptacle. This is most often the case with family Bibles, but it happens to other books as well.

I recently had the opportunity to repair one such book for a class I taught in book repair. I usually shop for books for students to repair at Friends of the Library sales, and that was where I found The Complete Poems of Paul Laurence Dunbar. I wanted to write about my work on this book for several reasons, the primary one being that people are often surprised at what I do for a living, and don’t believe that books can in fact be repaired. As you will see here, even when a book has so many problems that they can’t all be repaired at once, the book’s condition can be so vastly improved as to make a huge difference to the future of it. I also wanted to write about this book because my work on it brought up some interesting issues in conservation I thought worth discussing. Finally, there were some things I learned while repairing this book that I wanted to share.

The Complete Poems of Paul Laurence Dunbar front cover

front cover

Inside front cover

front pastedown: some gummed kraft tape, early cloth medical tape, acid migration…

inside rear cover

rear pastedown…early pressure sensitive adhesive worthy of further study

title page and photogravure portrait of Dunbar

title page and photogravure portrait of Dunbar

These informal photos taken prior to treatment may begin to give you an idea of what I mean when I say this book is a receptacle. In these four photos, we already see six newspaper clippings. And as I continued to observe the book’s condition, I came across many more clippings, pamphlets, three small pages of handwritten notes for a radio address, a church directory, and so on.

Post-treatment: the book plus all the inclusions that weren't glued, taped, or nailed down

Post-treatment: the book plus all the inclusions that weren’t glued, taped, or nailed down

Paul Laurence Dunbar was born only seven years after the end of the Civil War. His parents had been slaves, so he was the first generation of free African-Americans in his family. He wrote poems, novels, and plays, some in dialect, some not. He died young of tuberculosis, dying well before the Harlem Renaissance gained steam. However, many writers from the Harlem Renaissance onward have cited Dunbar as an inspiration, and many feel that he was America’s earliest great African-American literary figure. It makes sense to me, in view of all this, that someone chose to place all their most important notes, desires for self-betterment, news articles on Wendell Willkie, and even Christmas greetings within this volume.

Something I happened to learn while I was repairing this book, through an unrelated string of concurrent events, was how a photogravure is made. Though common in image output generation in book production, I guess I never had the reason to study the making of photogravures before. Someone I know told me he had made some, and when I said I didn’t know what they were, he described them. At that point, I realized that the book I was working on contained one. A pretty nice one, I thought.

Photogravure Portrait of Paul Laurence Dunbar

A photogravure is basically a way of using a film positive to burn an image into a copper plate suitable for use in printing with ink, combining photography with intaglio printing.

Photogravure

I’m happy with how my repair of this book came out–the book opens well, and all the pages have been stabilized. I’m even more pleased with the repairs completed by my students in the class. The students did so well we even had time to create protective four-flap enclosures for our books, so in my case, all the inclusions now have a contained place to reside that does not compromise the opening and closing of the book’s covers. However, there is one topic that is not addressed in the limited time available in that particular class: tape removal. Tape removal often requires the use of toxic solvents, requiring a vacuum table, a fume hood, and/or a fitted respirator: equipment and materials we do not have at SFCB. The Complete Poems of Paul Laurence Dunbar has several kinds of very old tape that are all causing various kinds of damage to the paper. The worst instance of this is on the reverse side of the lovely photogravure portrait.

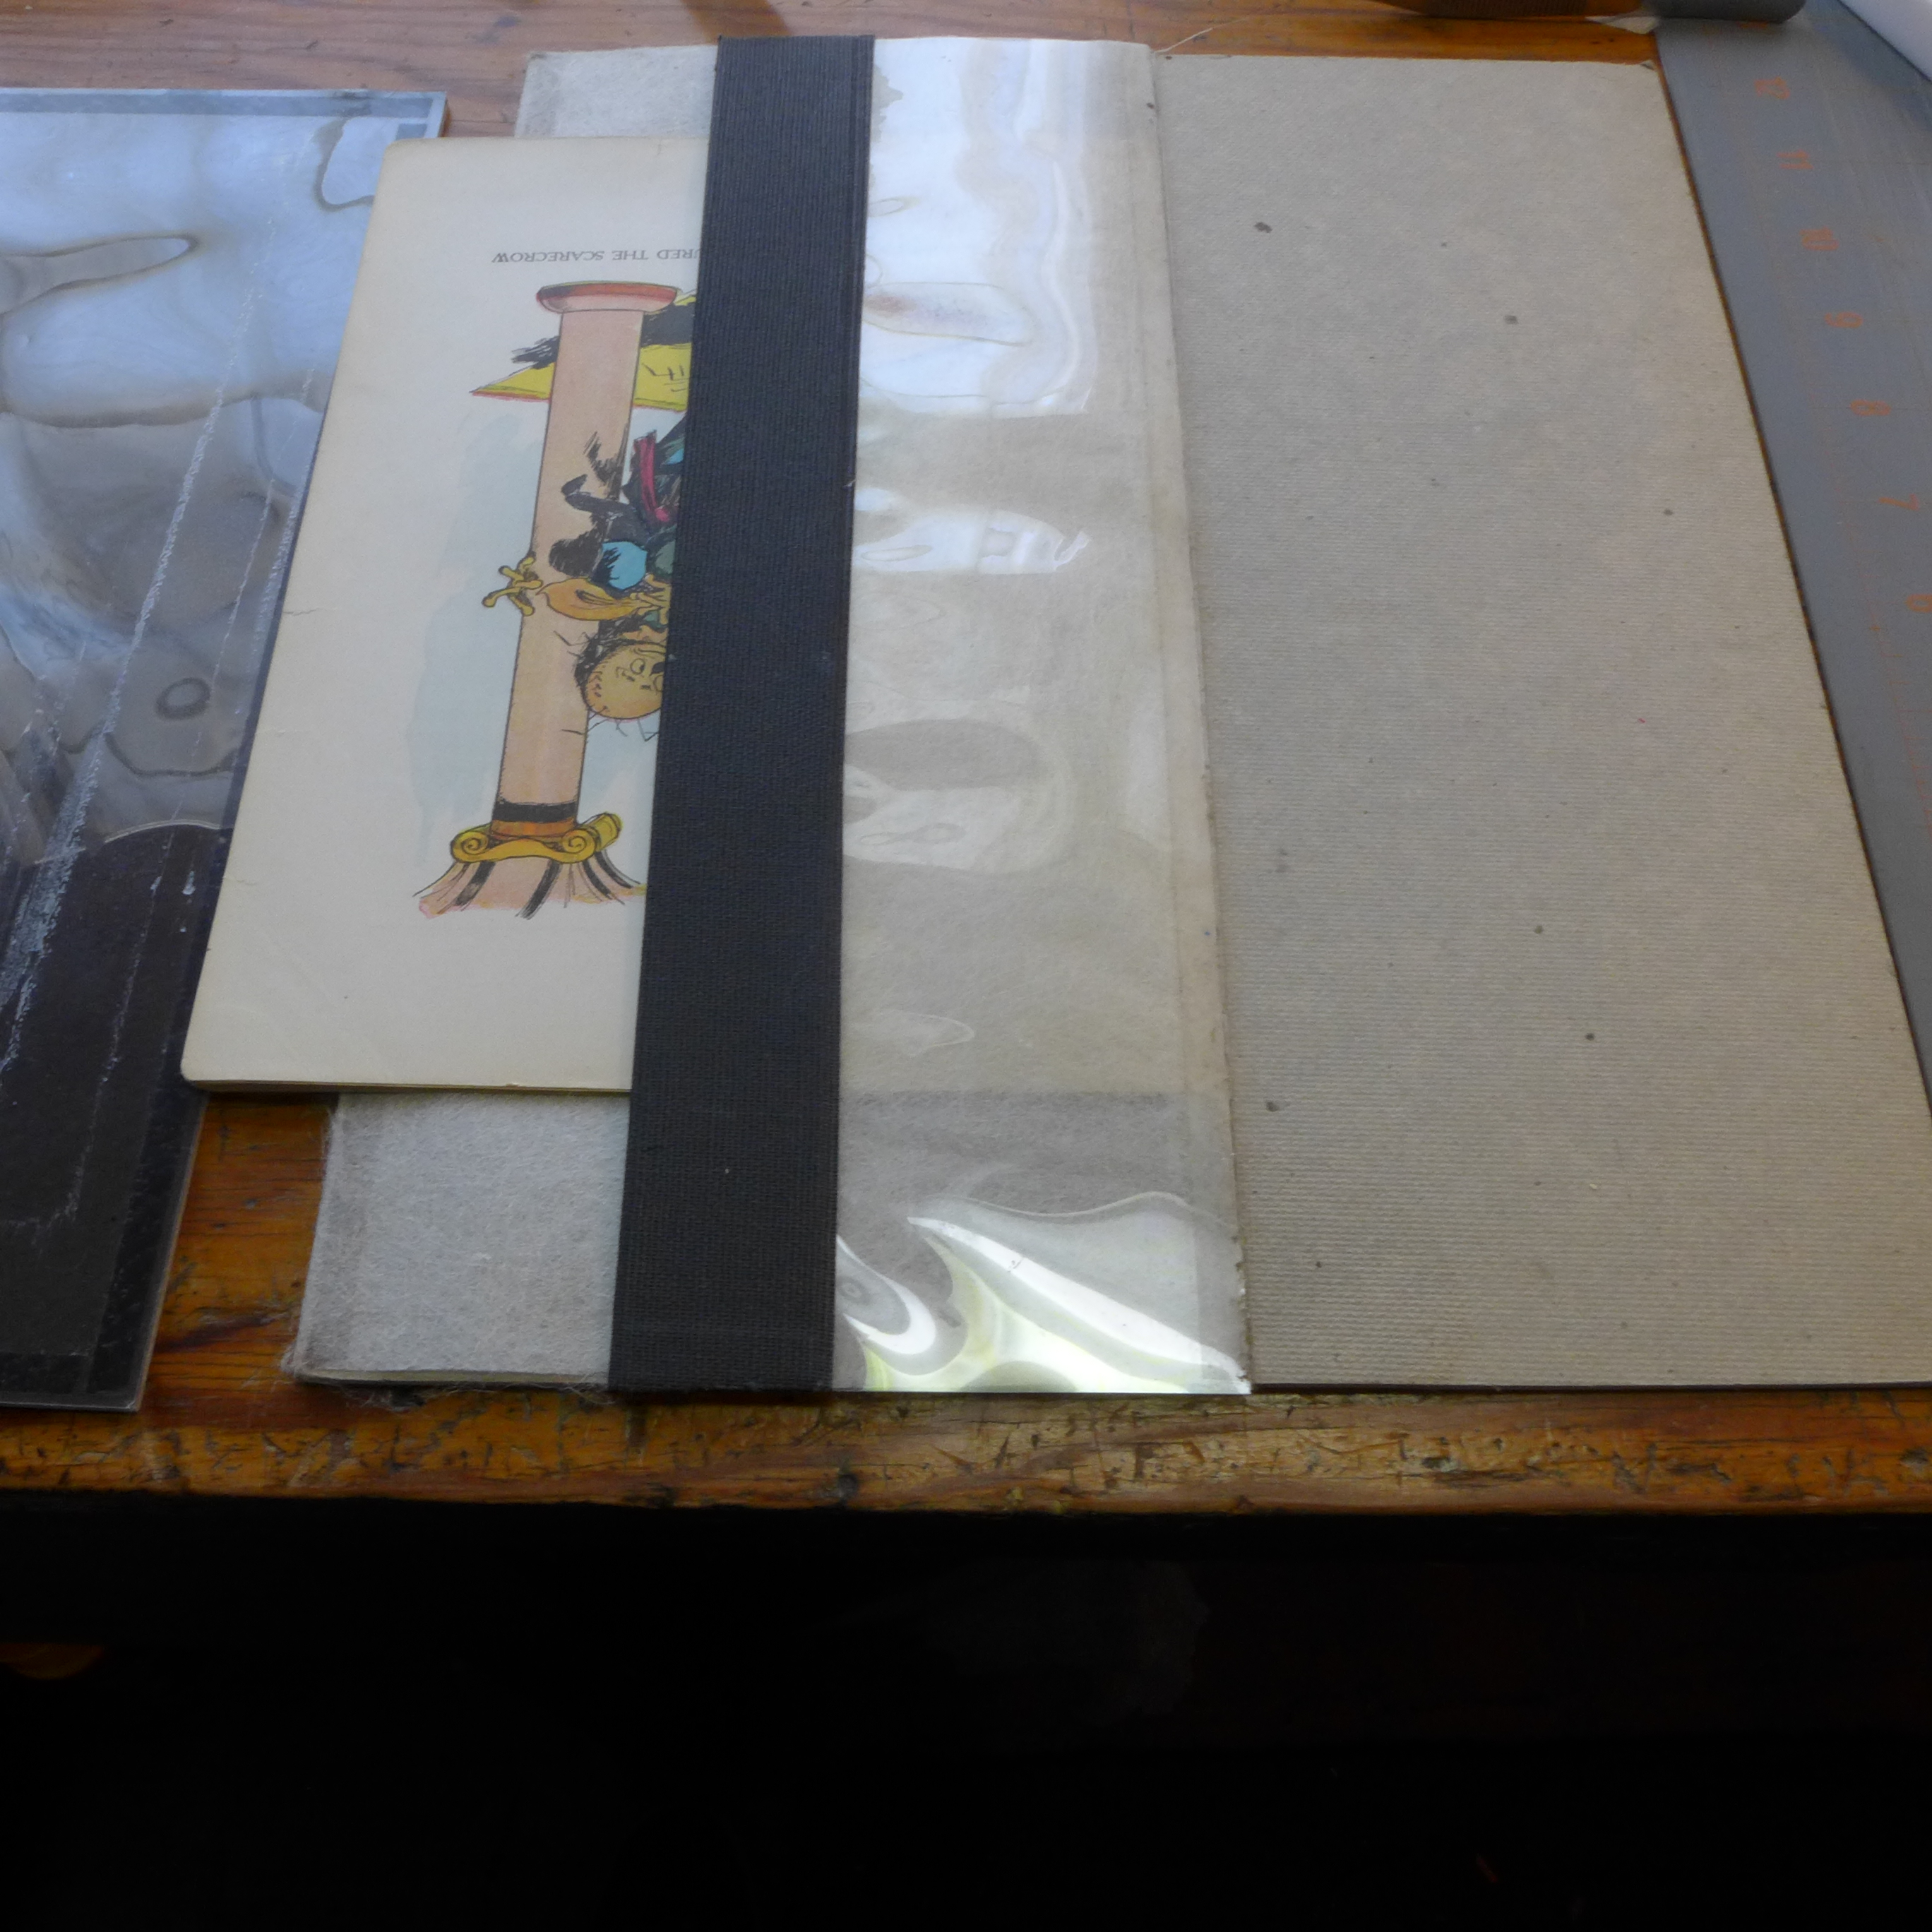
There are many types of tape, and they all age in different ways and at different rates, causing different effects to the paper they’re stuck to. Some of the adhesives dry out and flake off or can be gently scraped off, as was the case with the opaque white tape on the inner front pastedown. Others melt into the fibers of the paper they’re stuck to and create an inextricable bond, and an irreversible stain. This process can take decades, but once it happens, there is not much to be done about it. Holding this page up to the light shows where the tape on the reverse side of this page is located, and where the stain might be headed.

Tape StainLet this be, then, my one and only Public Service Announcement on Pressure-Sensitive Adhesive. Just say no, okay? It does not matter if the product says it’s archival. ‘Archival’ is an even vaguer marketing term than ‘organic’. Believe me, I understand the challenges of possessing an item in need of repair. The temptation to use a quick fix is strong. There are many book repair manuals out there that instruct on the use of tape–unfathomably. But, as common sense dictates, if it seems too good to be true, it probably is.

Books are really amazing. The more I repair and make them, the more respect and awe I have for the ones that stick around. I have seen and repaired many fine and treasured books, but the ones that amaze me most are the ones that seem the least likely to succeed. The Complete Poems of Paul Laurence Dunbar, despite all appearances, has “good bones”: it was sewn through folds and was printed on decent paper. And despite the copious use of tape by one of its previous owners, I was able to put it back together and give it a gentle push down the road. When things slow down, I may be able to give it some attempts at removing the tape, but for now, the tape will have to stay where it is, unfortunately.

New beginning

2 Comments

Filed under Around, About, and Through, My projects

The Literature of Bookbinding

Today’s post comes out of some thoughts I had after “reading” a book with no binding at all: an audiobook version of Flow My Tears, the Policeman Said by Philip K. Dick. Lately I’ve been listening to a lot of audiobooks while I work and really enjoying it. (By the way, did you know that many public libraries offer free downloadable material through their websites? ‘Tis available 24/7 as long as you’re square with your library– that is, you have a library card and don’t have excessive fines.  People are often surprised when I tell them that libraries offer these kinds of services. Actually, my librarian friends are some of the more tech-savvy people I know! Another resource for free downloadable audiobooks is the Internet Archive.)

Anyway, there is a scene early in Flow My Tears when the main character visits Cathy, a young woman whose function in life is to falsify ID cards, and while he’s in her workshop, sees what he takes to be a page from a medieval illuminated manuscript on her wall. Actually, it is something Cathy copied herself– in addition to copying official documents, Cathy is skilled at calligraphy and illumination with such a heightened sense of paper and ink that (by her own admission) her piece would “fool a museum”.

The placement of her character in this alternate-reality novel of flying cars, ultrasurveillance of private citizens, and a society at least an arm’s length from itself was startling to me. Being the kind of person I am, it made me wonder a moment that a lot of the authors I really like include references to fine books, calligraphy and printing.

Another author I love who often includes references to fine books is Joe Frank. Most of his shows that have aired on the local public radio station lately have had some mention of his love of antiquarian books, and old books occasionally figure into his plot lines also! It’s difficult, if not impossible, to find free Joe Frank content on the web, so many people don’t know about him, but you can find him at http://www.joefrank.com.

Studs Terkel included an interview with a bookbinder in his book Working. I just found out, too, that he spoke at the Guild of Book Workers conference in Chicago in 1998. (-sigh- Why wasn’t I there??) But I can still read and re-read the entry in Working, which in many ways still accurately describes the life of a freelance/self-employed bookbinder.

Another work of fiction pertaining to bookbinding is The Journal of Dora Damage. A bit rough around its proper Victorian edges, this is a rambling tale of a woman whose husband is a bookbinder and her consequent involvement in the trade, which becomes rather significant through the course of the book.

Pretty often these days I run into people who are interested in what I do for a living, and are fascinated that someone is still doing what I do. Occasionally I get bogged down by how tedius bookbinding can be: lots of manual labor and sore joints, administrative tasks that take me away from the bench, etc. Of course, I have always maintained that bookbinding shall be my profession, not a hobby or pastime, and I know that’s just the nature of work. It is nice, though, to read stories in which bookbinding and related crafts capture an author’s imagination. I am drawn in again to the exciting aspect of what I do and once more begin anew.

Any bookbinding literature you’d like to share? Please feel free to leave your recommendations in the comments area.

3 Comments

Filed under Around, About, and Through

Workshop and Interview with Lori Sauer

I recently had the opportunity to take a class with Lori Sauer here in the bay area. The topic was stub bindings, or bindings which use  narrow hinges, flaps, or concertina folds to attach signatures and/or plates (images printed as single sheets). She is a fine bookbinder working in the U.K.,though she is originally American. Her work is highly skilled, her designs are subtle, and she teaches workshops established under the name BINDING re:DEFINED. You can see some of her recent work here.

I am always interested in meeting other bookbinders far and near, and the topic of her workshop intrigued me. In the past I’ve been frustrated by stub bindings, since I most often see them as books coming into my studio in need of repair.  Puzzled as to how to put these books back together, I study the interlocking stubs, trying to reverse engineer the sewn and glued areas laboriously. I also vividly remember my utter bewilderment about the set book for the Designer Bookbinders’ Water competition. So many plates! Some folded, some flat, and intermingled with folded text signatures; what to do?

In the stub binding workshop, we all discovered there are many ways to construct bindings needing stubs. Stubs can be glued or sewn; concertinas can be glued, sewn, or even nested. Stubbed structures can have hard casings for covers, or can be laced into their covers, or can use traditional binding techniques and be purely decorative. What drew me to the workshop was the possibility of looking directly at the problem of stubs and seeing what solutions would present themselves. There is very little written about stub bindings, possibly because they often seem to be made on an ad hoc basis to resolve the truly odd structural situation.

The class was very well-organized, with plenty of well-documented methods and techniques to try. It was fun for me to construct all the different models Lori demonstrated, and come up with potential design challenges each could solve. We did not make any finished books in the class, but getting to see the finished models she brought was inspiring. In particular, I was struck by the incorporation of fine binding techniques in her models. I will continue to puzzle over stub bindings, but now in a good way.

Some serve a purpose such as attaching plates; some are decorative

Some serve a purpose such as attaching plates; some are decorative

Lori was gracious in agreeing to answer a few questions for my blog about the practice of making stub bindings and about her new appointment as President of Designer Bookbinders UK. I’m so grateful for what I learned from her, and if you are interested in taking one of her workshops, I encourage you to check out the website bookbindingworkshops.com.

What got you interested in stub bindings?
I was asked to speak at a Society of Bookbinders conference a number of years ago on a structure and stubs was the suggested topic. I knew very little about them but accepted, thinking it would be interesting and a challenge. I discovered there was very little written about them so talked to as many people as possible to get information. I only located one article from the 1950’s by Thomas Harrison. The remainder of my lecture consisted talking about and showing experimental work and books I had made from descriptions or photographs.

How do you decide whether and how to use stubs in your binding work?
As with all bindings, a text-block is assessed individually before deciding on the appropriate binding. I will decide to use a stub if there is a narrow gutter margin or if the sections are especially thick, printed cross-grain or if I have plates in the book that need a full page spread across the centre fold. I also like using it because the pages will always open flat and this appeals to me enormously.

Have you been able to study any historical examples of stubs used in bindings?
I’ve only been able to look briefly at historical bindings while visiting some private libraries in the UK. I’ve also been able to have a close look at an old atlas binding lent to me by a friend. Others I’ve been able to take apart and reassemble in work that’s come in to me for repair. My plan is to spend time in the British Library doing some research specifically on stubs. I think there is a lot to be discovered.

What are some of your favorite paper stocks to use as stubs? What are the characteristics that make a particular stock work well?
I can’t say that I have a favourite paper stock, I tend to choose as I go. It needs to be a paper that folds well and is strong. Conventionally, stubs are discreet so the papers were often lightweight and folded many times, they are meant to be tucked away. For modern usage a stub can be used decoratively as well as structurally so choice of paper gets more complicated. It’s a book-by-book decision for me.

Are there other binders doing similar bindings whose work you admire?
There is a lot of contemporary fine binding in Spain that is done on stubs and some of the results are stunning. I sadly don’t know any of the names.

You are the incoming president of Designer Bookbinders UK (congratulations!). Do you have any goals for your term that you’d like to share?
I’m looking forward to my time as President of Designer Bookbinders. We were formed around the premise of being an exhibiting society with the members there as support. I feel things have moved on and we can do more than just put on great exhibitions. DB has a highly respected international position in the bookbinding world and I would like it to be more actively involved with its international counterparts. This might involve an exchange of lecturers, workshops, demonstrations or articles in newsletters. With screens and keyboards at our fingertips it is so easy to give and get information and it’s important that we all share in this craft that we love. This not only benefits us as binders but also benefits the members who support us, domestically and internationally.

There are some other things in the pipeline and they all take time. In the meantime, like everyone else, I want to put my head down and make bindings.

Stubs close up

Incorporating end sheets, sewn signatures as pamphlets, glued concertinas, and hybrids involving all of the above

2 Comments

Filed under Bookbinding techniques, Classes I've taken

Wow! CODEX 2015

I was fortunate to make it to the CODEX festival this year. Very fortunate. It was amazing. There was something for everyone! Fine print, artists’ books, suppliers to the bookbinding and printing trades, book dealers, individual artists, everything you can imagine and more. I was not able to make it until the last day, but as a friend assured me who went on the first day, “There is so much to see, don’t worry about missing anything if you go at the end.” She was absolutely right! My buddy Annemarie and I spent pretty close to five hours there, and it went by like the blink of an eye.

One other great thing about CODEX was the people. So many fantastic people involved in elevating the making of books. I saw lots of work I enjoyed very much, and was able to strike up meaningful conversations with the makers right there, on the spot. Positive energy in abundance!  My CODEX buddy and I stopped for lunch and sat down with Jeff Altepeter, and had a great chat with him about how things are going back east at the North Bennet Street School. Sounds like the new building is wonderful and things are going well. He had gone to the Antiquarian Book Fair the previous weekend, as had I, and we talked a bit about how great it is to see beautiful old books that are not in need of repair. How unusual! Ha.

Anyway, in case you were not able to attend this year’s CODEX festival, here are some snapshots I took. Scroll over the photo to see a caption, or click on any photo for the slideshow. I must warn you that this is only a tiny, tiny slice of what was there! These are just the things I saw that I wanted to photograph, so this is my bookbinder’s-eye view.

1 Comment

Filed under Around, About, and Through

Teaching and Learning

Everyone has his or her favorite cultural icon, right? I do too, and mine is John Cage. He grew up in southern California, lived most of his life on the east coast of the US, and was a composer, among many other skills and specialties. His music is sparse, abstract, noisy, at times loud and harsh and at other times perfectly quiet and peaceful. In some ways a product of American culture and history, in others a radical departure, Cage was at all times a hard worker, completely devoted to creating music and bringing sounds together. He brought this same focus to his side pursuits, such as mushroom gathering and macrobiotic cooking, as well. His whole life, as a synthesis of all of these dynamic activities, went into his compositions and recordings.

Cage's mycological collection is at UC Santa Cruz!! Let's go!!

Cage’s mycological collection is at UC Santa Cruz!! Let’s go!!

We also have just a few books containing his lectures and poems, such as Silence and Indeterminacy. There is so much more to explore about Cage’s life, music, and philosophy, but this is a bookbinding blog. What I wanted to share about Cage is one of his writings I happened across, very much in chancy Cage-like fashion, at the Prelinger Library. Cage had mixed opinions about formal schooling, having dropped out of Pomona College as an undergraduate, though he was valedictorian of his high school class. I think it can be comfortably said that he continued to learn, study, and teach throughout his life, and that the concept of lifelong learning–questioning assumptions, gathering data, and growing and adapting–was central to his thinking. I wanted to share the following piece in light of the classes I will be teaching soon, as well as the classes I have been taking lately. The past year has been a very active one for me, filled with growth and change. It has been over eleven years now since I received my diploma in bookbinding, and so I have had nearly adequate time to begin to practice and reflect on what I learned there. But now, it is time for me to resume my pursuit of learning, growth, and adaptation. Last summer, I took the Design Binding Intensive class from Dominic Riley. I think Dominic is a very Cage-ian instructor: eccentric, with unparallelled skill, completely engaged in his classes, often taking us on field trips and giving us lots of concrete information.

Dominic demonstrates board chamfering

Dominic demonstrates board chamfering

I also taught some classes, some at home and others further afield.

P1010993

Creative interpretation by a student in one of my classes. Brilliant!!


This summer, I will be taking some classes at the Campbell Center for Historic Preservation in northwestern Illinois. And last weekend, I took a class in finishing with gold leaf taught by Gavin Dovey to refine my skills. I believe there is always more to learn in any field, but especially in a field like bookbinding, and I am grateful to have found a profession for which there is always room for expansion.

I have been teaching bookbinding for years, and feel that I often learn more from my students than they learn from me… Perhaps these few lines from Cage explain why.

 Some Rules and Hints for Students and Teachers
John Cage

RULE #1: Find a place you trust and then, try trusting it for a while

RULE #2: GENERAL DUTIES AS A STUDENT
Pull everything out of your teacher
Pull everything out of your fellow students

RULE #3: GENERAL DUTY AS A TEACHER
Pull everything out of your students

RULE #4: Consider everything an experiment.

RULE #5: Be self disciplined.
This means finding someone smart or wise and choosing to follow them.
To be disciplined is to follow in a good way.
To be self-disciplined is to follow in a better way.

RULE#6: Follow the leader
Nothing is a mistake.
There is no win and no fail.
There is only make.

RULE #7: The only rule is work
If you work it will lead to something.
It is the people who do all of the work all of the time who eventually catch on to things. You can fool the fans but not the players.

RULE #8: Do not try to create and analyze at the same time.
They are different processes.

RULE #9: Be happy whenever you can manage it.
It is lighter than you think.

RULE #10: We are breaking all the rules, even our own
How do we do that?
By leaving plenty of room for ‘x’ qualities
HELPFUL HINTS:

Always be around. Come or go to everything. Always go to classes. Read everything you can get your hands on. Look at movies carefully and often. Save everything. It may come in handy later.


…and speaking of “Come or go to everything,” here is an event not to be missed for anyone who was ever curious about how fine bindings are made:

HBC Codex Event

It is sponsored by my local bookbinding organization, and will be a great way to begin the festivities relating to Codex and the Antiquarian Book Fair. I’m hoping we will record it in some way, but the best way to experience it will be in Cage-ian fashion: be there.

Leave a comment

Filed under Classes I've taken, Classes I've taught

Cleaning rusty dividers

One of the things that keeps me interested in bookbinding is how it encompasses so many different fields. Before working in bookbinding for too long, I quickly realized I needed to learn a little about woodworking, metalworking, tool and die making, fabrics and textiles, graphic arts and typography, materials science, and so on. These days (at least, for the past century or so), if you want to do a good job at bookbinding, you need to be able to service your own tools. One frequent question/complaint I hear from my students is about dividers. What are they? Is this a dividers? How about this? Well… those may be listed as dividers, but they’re not exactly what you’re looking for. Using a dividers is, to me, one of the more important steps in one’s development as a hand bookbinder. A good set of dividers can make your work more accurate and efficient. It’s important to get the best tool you can afford, and certainly a decent pair of dividers is affordable; you just may have to do some hunting. I have a considerable amount of brand loyalty in this area, and Starrett is the only kind of dividers I like. Though they can be expensive to purchase brand new, it is relatively easy to find Starrett dividers at flea markets and on ebay. The down side is they will often have a considerable amount of rust.

Removing the rust is a quick and easy way to make your new find your own. All you need is a little citric acid, some metal polishing compound, and a light machine oil such as 3 in 1.

I have seen bookbinders perform experiments in removing rust with Coca-cola (which contains citric acid), but I don’t usually have that around. I do keep some citric acid (available in natural foods stores in the preserving/canning section) on hand for making jam, to balance the acidity of low-acid fruits in order to properly set the pectin. After doing a little web scouting on the topic I turned up this Wikipedia article on pickling metal which I found fascinating, and made me feel a little more confident in removing rust this way. One thing to note is that even though citric acid is safe to ingest, it is still an acid, and how strongly you mix it determines its safety to use. I used about 1 teaspoon for a 9×9″ square pan filled to about 2-3cm deep with tap water.

Visible rust starting to create pits in the metal; citric acid available at natural foods store

Before: visible rust starting to create pits in the metal; citric acid available at natural foods store

After only an hour, much of the rust has lifted off

After only an hour, much of the rust has lifted off

After soaking another hour in the citric acid, then wiping down with a metal polish, rubbing with a light machine oil, then drying off.

After soaking another hour in the citric acid, then polishing any pitted areas with a metal polishing compound such as jeweler’s rouge, rubbing with a light machine oil, and finally wiping dry.

It is a really satisfying feeling to clean up an old tool like this. Using a light acid bath instead of scratching away at the metal with a steel wool or brillo pad is much better, in my opinion: the acid removes the rust only, not the unaffected neighboring metal surfaces. The acid bath also removes rust easily from threaded parts of the tool and other hard to reach areas. Just be sure to dry the tool completely afterward and don’t hold back with the oil. Let the tool stand with the oil on it for at least a few hours at warm room temperature to let it seep in, then wipe it completely clean with a soft cloth. The dividers pictured above now works smoothly and is ready for adventure.

3 Comments

Filed under Tool Talk

Nifty Folio Repairs

Hello again and apologies for the long absence. Since I last added to this blog, Book Island broke loose of its moorings and took float, settling just a few cattails from its former position. Improvements include more space for my growing family of bookbinding equipment (more on that in a later post) and for holding mini-workshops; and proximity to a large vintage Wedgewood gas stove. There are many tradeoffs to living and working under the same roof; working for oneself also has its pluses and minuses. Not having to commute long distances, and being able to do things like let bread dough rise or soup simmer while working at the bench are things I would identify as pluses. Of course, it is a more solitary lifestyle; and there’s the whole tax/admin angle that has to be dealt with. In any case, it’s where Book Island is at right now. After sharing some tips on guarding and folio repair, I will include some snapshots of the new studio and workspace.

One of the great advantages to having formal training in bookbinding was the multitude of sidebar-type techniques we all learned. Being in a two-year, full-time bench-centered program afforded my class a fair amount of time for goofing off in the nerdiest way imaginable. In teaching us paper and book repair and conservation, my teacher gave us lots of bonus extra tips and methods for saving time and making a better result. Some of them may be in wider use than I am aware of, and some I go through phases of using heavily and then not using for a long time. One of these is something I have nicknamed the Folio-Mat. Like many studio aids in bookbinding, it is simply fabricated from a few pieces of scrap materials you probably have laying around not currently helping anybody, but it is completely out of the question to discard: binder’s board, buckram, mylar, and your favorite archival spun polyester. Oh, and don’t forget the Scotch 415 double stick… Yes, from these humble beginnings, you too could create wonders! Observe…

Step one: Place a strip of pasted repair tissue on the center line of the board

Step one: Place a strip of pasted repair tissue on the center line of the board

Step two: place the folio or signature to be guarded on the tissue , amtching up the fold line with the center of the repair tissue

Step two: place the folio or signature to be guarded on the tissue, matching up the fold line with the center of the repair tissue

Step three: lift the buckram flap, and fold the whole flap over the folio or signature, thus bringing the otherwise wiggly half of the pasted repair tissue cleanly over the fold

Step three: lift the buckram flap, and fold the whole flap over the folio or signature, thus bringing the otherwise wiggly half of the pasted repair tissue cleanly over the fold

Step four: lift the buckram and return it to its original positions, and-voila!-your folio or signature has an unwrinkled, completely flat guard. Trim height to size when dry.

Step four: lift the buckram and return it to its original positions, and-voila!-your folio or signature has an unwrinkled, completely flat guard. Trim height to size when dry.

The Folio-Mat (trademark pending) allows you to easily unite two leaves separated by time and neglect in order to prepare them for sewing. I recently had to guard an entire textblock this way and was able to save some time. It was much easier to jog the separated leaves to the foredge, avoiding much of the stepping out leaves often do when regrouped into signatures. This paper was quite soft and fragile, having been in a mostly-disbound state for many years (burns and fading could be seen on the edges of the pages sticking out from the stack). To say this book was in tatters would be an understatement. I’m not sure the pre-treatment photos quite express the causes for trepidation I felt when approaching the repair… I’m sure we’ve all been there. It was very rewarding to see how it came out, however.

Before treatment, foredge is in tatters.

Before treatment, foredge is in tatters.

Spine is tattered and battered, with many loss areas to outer leaves

Spine is tattered and battered, with many loss areas to outer leaves

Post treatment: top edge lines up much better, and you can see the bright yellow inked edge

Post treatment: top edge lines up much better, and you can see the bright yellow inked edge

no more tatters!

no more tatters!

Lovely illustrations now come through

Lovely illustrations now come through

Spine functioning normally

Spine functioning normally

Book lays flat and can be read without damage to the pages. Success! Thank you, Folio-Mat.

Book lays flat and can be read without damage to the pages. Success! Thank you, Folio-Mat.

More fun from Book Island:

New space with expanded equipment family: Ursa Minor (little nipper) on the far left, next Ursa Major (big nipper); Kensol now has its own homemade table with two castors. Workshop table is new too, as are the rudimentary tool kits mostly aquired from the Japantown mall. Come visit!

New space with expanded equipment family: Ursa Minor (little nipper) on the far left, next Ursa Major (big nipper); Kensol now has its own homemade table with two castors. Workshop table is new too, as are the rudimentary tool kits mostly acquired from the Japantown mall. Come visit!


2 Comments

Filed under Bookbinding techniques, My projects

Time for some pie!

…Or rather, time for pie to be transformed into something beautiful. Something gorgeously well-ordered. What on Earth am I talking about?? For a hint, here is a definition:

pi

noun

  1. The name of the sixteenth letter of the Classical Greek, Classical and Modern Greek alphabets and the seventeenth in Old Greek.
  2. (mathematics) An irrational constant representing the ratio of the circumference of a circle to its diameter; approximately 3.1415926535897932; usually written π, where pi x diameter = Circumference.
  3. (context, typesetting) Metal type that has been spilled, mixed together, or disordered. Also called pie.

And, the exciting transformation:

IMG_3025Organizing this type is something that has taken me several years. Some of it is fairly worn, but it is all brass, and thus ideal for the hot stamping known in bookbinding as tooling, or finishing. Countless hours have been spent in sorting the various sizes and styles shown here, and even then, about half of the entire box in the bottom right of this picture comprises letters with no match. The other half of that box is punctuation which probably belongs in one of the other boxes, but I’ll have to leave that last part of this project for another day.

Sometimes it is difficult for me to explain to my clients why I cannot stamp their name in their chosen font on the book cover I make for them without having a die made. Perhaps the photo above might explain a little bit about the process of titling a book cover. As you can see, the tiny brass letters are fixed in size and shape. To a bookbinder, the meaning of the word ‘font’ refers to a set of these pieces of brass; it is not something that you highlight with your mouse and change from a dropdown menu. Very unfortunate, to some extent, since it does not allow for creative layout possibilites which respond to the particular needs of a specific project. For that, one must contract to have a die made, usually from magnesium, or for high volume production jobs, from copper. There are environmental risks involved in this process that the city of San Francisco has deemed unsafe; thus there are no companies that perform this service here. And once it is made into a stamping die, the magnesium is a health hazard of sorts as well– it is extremely inflammable, so for a bookbinder to store old dies is dangerous. G-d forbid any bindery with magnesium dies in storage should catch fire, for it would explode to high heaven. In a fire, brass type might melt. Which would be sad. But not dangerous.

Brass type is often the preferred choice for me because it also reduces waste; it is nearly infinitely reusable. A magnesium die is generally used only once, at the time of a single project. Of course, having a magnesium die made can be more fun because the possibilites are nearly limitless. Brass type lends a traditional, cultured appearance, where making a die allows more creative control. Here’s an example of a project I worked on which required a die.

sanfranciscocenterbookdodocaseipad22Dies are best made with type and line art– very little shading or solid blocks of color will come out well with a die. Theoretically it is possible, but for best results, line art and type are recommended.

The topic of book decoration could go on for volumes, and this is just a blog. There are lots of points of departure on my links page over on Book Island in case you’re interested.

Recent Project

Something I truly enjoy which most other bookbinders veer away from is Bible repair. The large family Bibles of the late nineteenth century are often unwieldy mammoth objects with heavy double-thickness boards, weak joints, and crumbling paper due to the production advances of the Industrial Revolution. Around now, 150 or so years after their production, these Bibles are widely in need of, ah, joint replacement surgery, so to speak. They are difficult to repair because of their heft, size, and fragility– never a good combination. I enjoy them, however, because they offer me the opportunity to fulfill what I feel is my purpose in being a hand bookbinder: keeping history alive, educating clients about the items they possess, and allowing clients the ability to page through a book they’ve been too scared to touch because it was damaged.

This Bible was a particular pleasure to restore because it was made prior to all the so-called advances of the late 1800’s. Instead of two laminated boards, this book had one thick one for each cover. Instead of deep blind tooling on the covers combined with carved board (which often delaminated), this one used fine gold stamping to decorate the covers. The leather used was not suffering from red rot, and probably never will, since the tannage seemed fairly stable, and the leather still fairly strong. the paper, as well, was healthy, and registered a pH of 6! Amazing. Another thing that impressed me about this book was the sewing. Tens of thin signatures all sewn in a remarkably regular way, as can be seen below. In binderies of this period, it was generally women who did the sewing, and they often sewed without pre-punching the signatures as we do today (though this book was likely sawn). I was kind of touched to see how many signatures there were to this giant behemoth, and all of them sewn perfectly regular.

IMG_2806

Image of Trinity Church in New York City

Every panel on the spine had a different illustration of a Bible scene or story

Every panel on the spine had a different illustration of a Bible scene or story

IMG_3024

Leave a comment

Filed under Bookbinding techniques

New addition to Book Island

Most of you reading this blog know how much I love bookbinding equipment. One of the special things about this profession is all the extremely specialized tools and machinery we have at our disposal, when we can find it! And usually it seems to take care of itself, once you learn to use it properly. Acquiring a piece of old bookbinding equipment is like receiving a postcard from a simpler time– remove a little rust and a little tape goo, plug it in, and there you have it: a perfectly designed labor saver with steel and cast iron parts machined precisely to thousandths of an inch. Well, finally, it is my time to receive such a gift from the past. This very day with the help of my friends I un-shrinkwrapped a lovely, cherry-red Kensol. It is not (yet) as nice as some I’ve used, better than many others, but at last it is mine. Enjoy some pictures of the new baby and some other examples of titling I’ve done lately.

Bright red paint makes it heat up faster!

Bright red paint makes it heat up faster!

IMG_2582

Setting brass type for heat stamping

First strike a little deep. so I make some height adjustments to the table

First strike a little deep. so I make some height adjustments to the table

Now we're starting to have some fun

Now we’re starting to have some fun

Dos-a-dos (back-to-back in two parts, but bound together) Student Portfolio

Dos-a-dos (back-to-back in two parts, but bound together) Student Portfolio. The only font available that seemed appropriate was too small and narrow for this large field, so I used large spacers between each letter to make the words take up more space. The result is a modern, minimal appearance that complemented the student’s content nicely.

These were done with two dies, one in English and the other in Russian. Scarcely 4 mm tall, they had to line up exactly with each other, yet they were upside down from each other.

These were done with two dies, one in English and the other in Russian. Scarcely 4 mm tall, they had to line up exactly with each other, yet they were upside down from each other.

Leather labels: one stamped with type, the other with decorative leaves (done by hand)

Leather labels: one stamped with type, the other with decorative leaves (done by hand)

IMG_2383

Type was hand-set and stamped on a Kwikprint; all other decoration done with hand tools

4 Comments

Filed under Bookbinding techniques, My projects, Tool Talk

NBSS on tv

While having a deep conversation of a bookbinding nature with a friend recently, and wrapping up one of my typical thousand-ply yarns, I said, “Guess that was more story than you bargained for!” “Well, it just means I don’t have to watch more Craft In America episodes,” she answered. A pause. “Wait, what’s Craft in America?” D’oh! My tv was one of the many things given up in my move from Chicago to California. Although I don’t miss it, I suppose there are work-related things on tv from time to time I miss by not having one. I caught up on some of the episodes available online of this 2009 PBS series, and to my surprise discovered a segment on my alma mater, the North Bennet Street School. This episode also has an interesting and thoughtful interview with bay area book artist Julie Chen along with some shots of her beautiful and well-composed work. Another beloved bay area artist and printmaker, Tom Killion (yessss!!!), is featured in this same episode. I am always interested in how craftspeople integrate their work into their lives– the different work environments we create and the business models that result. The PBS series does not go too deeply into these issues, just gives us small, tv-shaped windows into the work and lives of craftspeople in a variety of fields.

Since some time has passed since I left NBSS, it was nice to watch the segment on my school, although at the time of filming, the bookbinding department had a different instructor and had moved to a different floor. I hear that spring 2013 marked the final year of classes in the building where I spent my two years beginning to learn my trade, and that the school is moving to a much larger building as of fall 2013. It’s great to know the school is growing; hopefully a good sign for the traditional crafts taught there. But oh! if those basement walls could talk. I remember that tiny closet with the Tormek where we all honed our knives, and the closet on the other side where the finishing tools were kept. My year was the first class that had the distinct advantage of a full set of gouges including a blender set for finishing tools, and wow, did we all keep those in heavy rotation. One of my classmates tooled a line drawing of Hank Williams and his wife Audrey on a plaquette! Amazing. My class also shared the distinction of producing the first bookbinder to win the prestigious Stanislov Cup. NBSS, the Fighting Craftspeople! Thanks Mark.

The segment on North Bennet Street School is about 44 minutes into the episode; Tom Killion is at about minute 18, and Julie Chen is 37 or so.

http://video.pbs.org/video/1275408713

Leave a comment

Filed under Around, About, and Through